
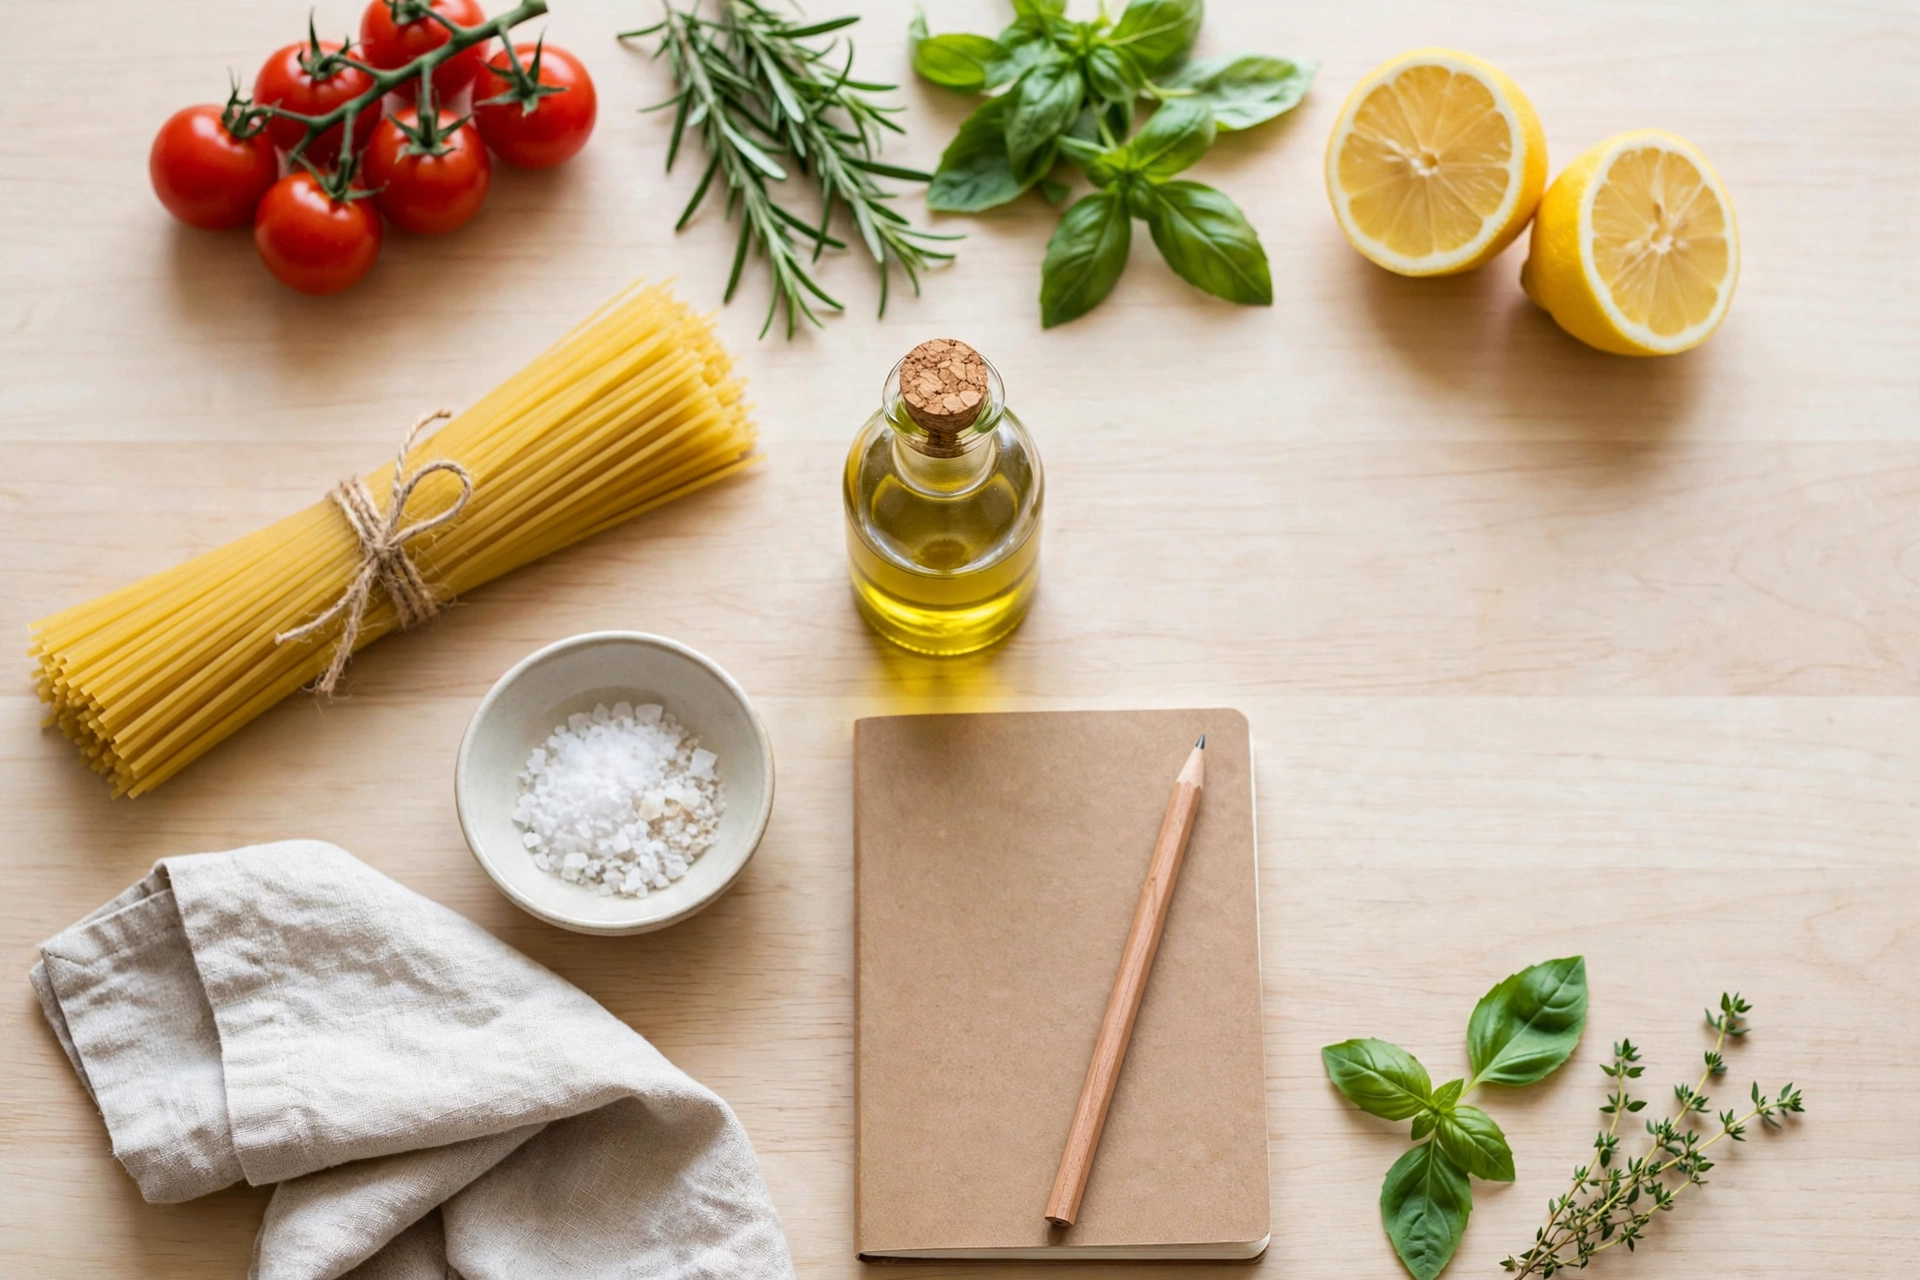
If your weeknights are a scramble between work, errands, and figuring out what to eat, meal prepping can give you back hours every week — without living on sad desk salads. This guide walks you through exactly how to start meal prepping, from picking your first containers to building a repeatable weekly system.
Whether you’re prepping to save money, eat healthier, or just stop ordering takeout out of exhaustion, the process is simpler than it looks. Let’s break it down step by step.
Table of Contents
How to Start Meal Prepping?
Meal prepping means preparing some or all of your meals in advance — usually once or twice a week — so you’re not cooking from scratch every single day. It can mean:
- Batch cooking: making large quantities of a few dishes and portioning them out
- Ingredient prep: chopping, marinating, or cooking components ahead (proteins, grains, veggies) to assemble quickly later
- Full meal prep: cooking complete meals and storing them ready to reheat
Most beginners start with a hybrid of batch cooking and ingredient prep, since it offers the most flexibility without the monotony of eating the exact same meal five days straight.
Step 1: Decide Why You’re Meal Prepping
Your “why” shapes everything else — how many meals you prep, what recipes you choose, and how strict your portions need to be.
- Saving time → focus on batch-cookable meals with minimal daily assembly
- Saving money → prioritize bulk staples (rice, beans, chicken thighs) over specialty ingredients
- Weight loss or fitness goals → portion-controlled containers and calorie-tracked recipes matter more
- Eating healthier overall → focus on balanced macros and reducing reliance on takeout
Step 2: Get the Right Containers
This is where most beginners either set themselves up for success or quietly give up after two weeks because their containers leaked in a bag or cracked in the microwave.
At minimum, you’ll want:
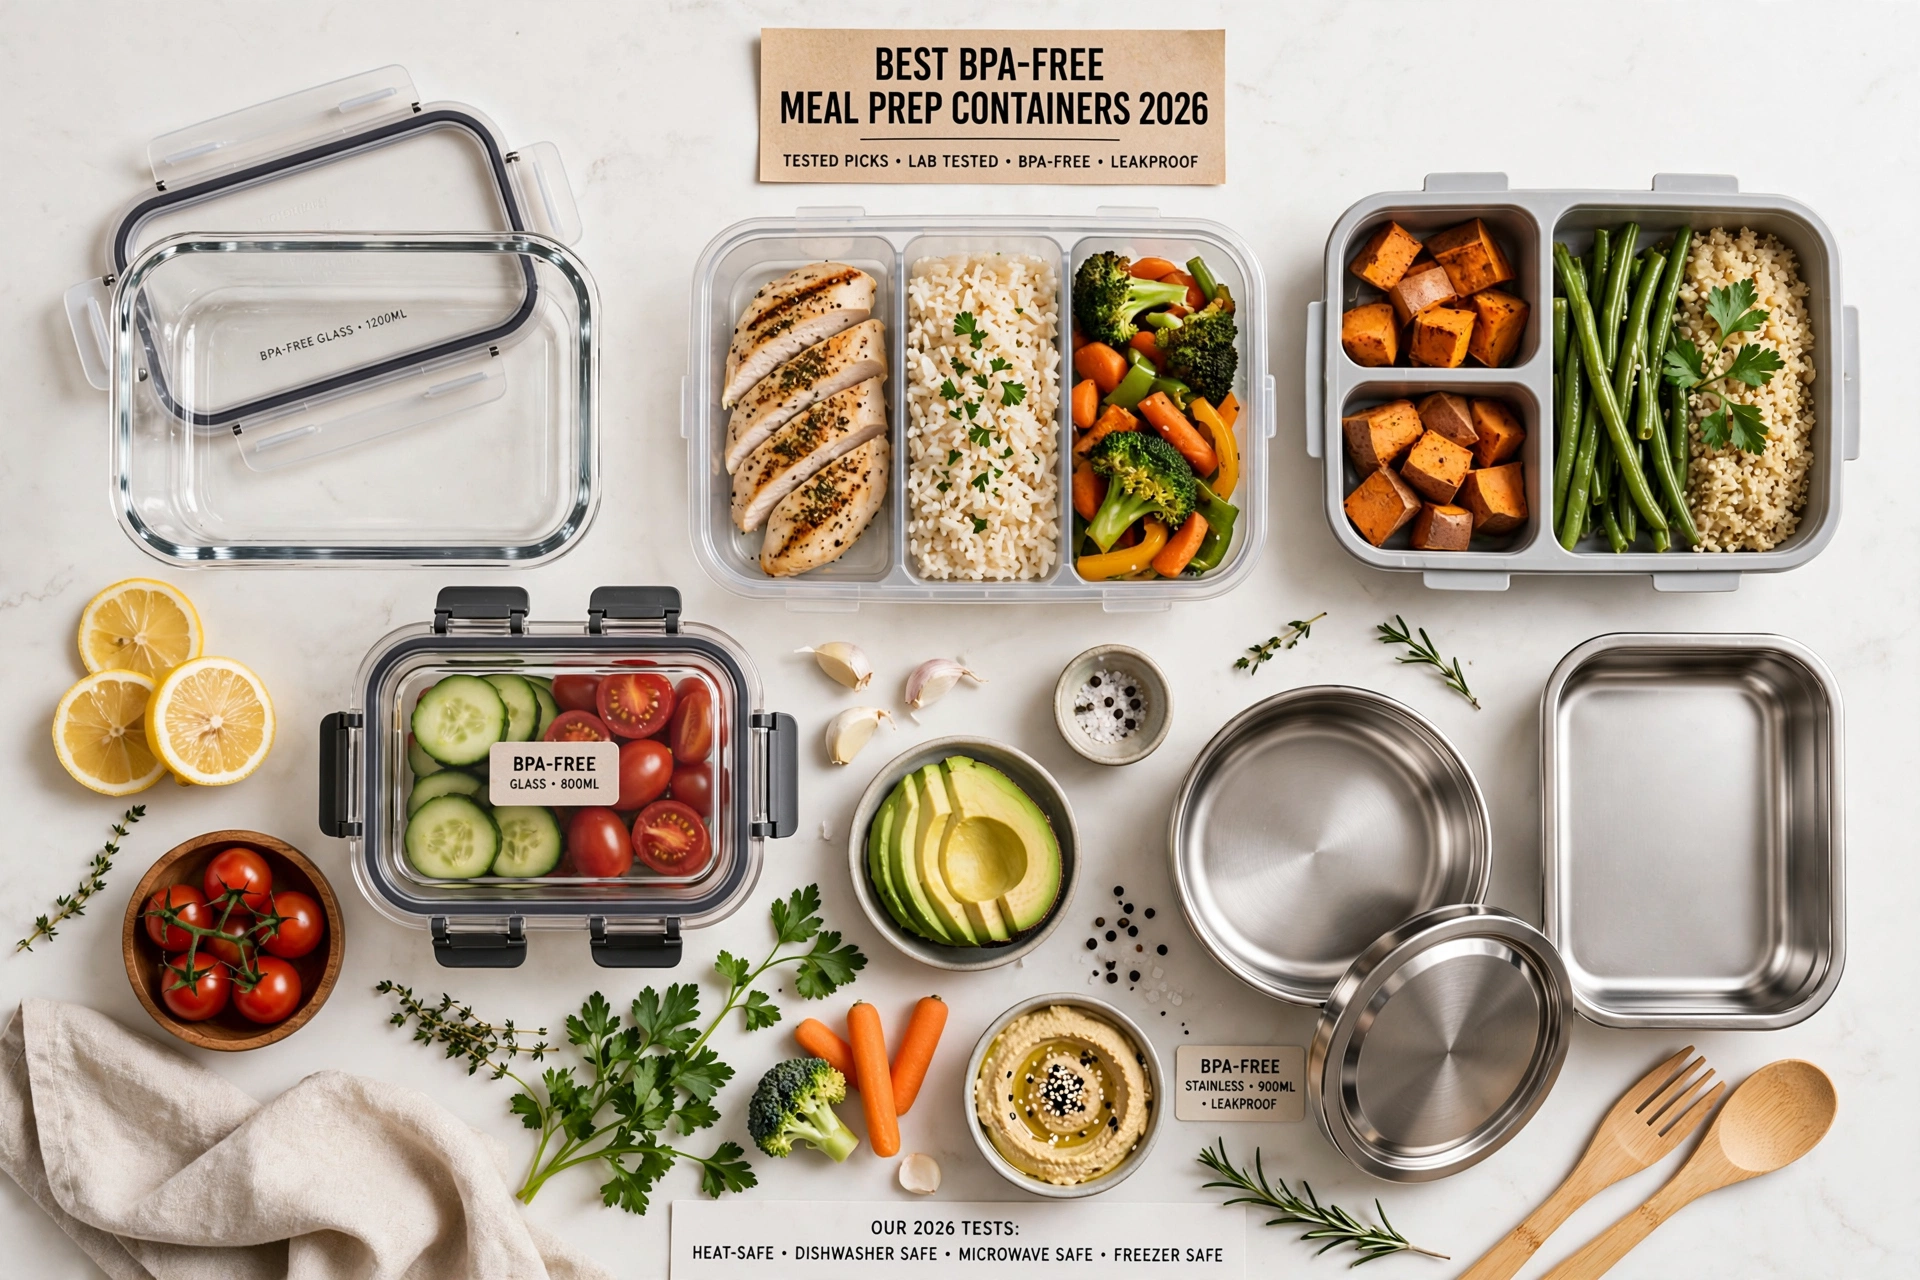
- 8–12 containers to cover roughly 4–6 days of lunches or dinners
- A mix of compartment styles if you like variety (2 or 3 sections) vs. single-compartment for soups, stews, and sauces
- Microwave- and dishwasher-safe materials — glass or BPA-free plastic
We’ve tested and ranked containers by category so you don’t have to guess:
- /best-meal-prep-containers/ — our full pillar guide and top overall picks
- Best Glass Meal Prep Containers — for reheating without plastic
- Best Budget Meal Prep Containers — solid quality without overspending
- Best Portion Control Containers — if macros or calorie tracking matter to you
- Glass vs. Plastic Meal Prep Containers — which one actually fits your routine
- Best Leak-Proof Containers — for anyone transporting meals to work or the gym
- BPA-Free Meal Prep Guide — what “BPA-free” actually means and why it matters
- Rubbermaid Brilliance Review and Bentgo Prep Review — two of the most popular sets, tested head-to-head
Step 3: Plan Your Meals for the Week
Pick 2–4 recipes you’ll rotate through — trying to prep 7 completely different meals in one sitting is the fastest way to burn out. A simple beginner structure:
- 1 protein + grain bowl (chicken, rice, roasted vegetables)
- 1 soup or stew (freezes and reheats well)
- 1 salad-based meal (dressing stored separately to avoid sogginess)
- 1 breakfast option (overnight oats, egg muffins, or a yogurt bowl)
If you want a done-for-you starting point, our 7-Day Meal Plan Template lays out a full week with a grocery list included.
Step 4: Shop With a List (and Stick to It)
Meal prepping only saves money if you’re not improvising at the store. Build your grocery list directly from your chosen recipes, and buy proteins and produce in the quantities your recipes actually call for — not “some extra just in case,” which is how food ends up wasted.
Step 5: Set Aside 2–3 Hours Once a Week
Most people prep on Sunday, but any consistent block works. A simple workflow:
- Start proteins first (they take longest — oven-roast or slow-cook while you handle everything else)
- Cook grains and starches while proteins finish
- Chop and portion vegetables — some raw for salads, some roasted alongside your protein
- Assemble and portion into containers once everything has cooled slightly (hot food in sealed containers = condensation = soggy food)
- Label containers with the date if you’re freezing anything
Step 6: Store It Properly
- Refrigerator: most prepped meals last 3–5 days safely
- Freezer: soups, stews, and cooked grains freeze well for 2–3 months; salads and anything with raw vegetables do not freeze well
- Keep sauces and dressings separate until you’re ready to eat, especially for anything with greens
Common Beginner Mistakes to Avoid
- Prepping too much variety — 2–3 recipes is plenty starting out
- Skipping the container investment — cheap, poorly-sealing containers lead to leaks and spoiled food, which kills motivation fast
- Not accounting for texture — some foods (fried items, crispy skins, dressed salads) simply don’t hold up; plan around that rather than fighting it
- Over-portioning proteins and under-portioning vegetables — balance matters for both nutrition and satisfaction
Frequently Asked Questions
How long does meal prep last in the fridge? Most cooked meals stay fresh for 3–5 days when stored in sealed, airtight containers.
Do I need special containers, or can I use anything? You can use what you have to start, but containers that don’t seal well often leak or let food dry out faster. If you’re prepping regularly, it’s worth investing in a proper set — see our container comparison guide.
Is meal prepping cheaper than eating out? Generally yes, especially when built around bulk staples like rice, beans, and chicken. The savings add up fastest when you’re replacing takeout, not fresh cooking you were already doing.
Ready to Build Your First Week?
Start simple: pick your containers, choose 2–3 recipes, and block out one afternoon. Once the routine clicks, you can expand from there. Grab our 7-Day Meal Plan Template to skip the planning step entirely and get straight to prepping.